Thursday, January 16, 2014

Faber-Castell January Challenge

Here is my entry for the January challenge at Faber-Castell. You can check out the challenge here.
Here is my inspiration piece. I found it Here.


My take on the above:
I made a mixed media card. I started by adhering dictionary pages to Neenah solar white cardstock and then gessoing. Then I applied wet cement ink (hero arts) with an ink applicator and then direct to the piece. I then stamped the image (hero arts) with charcoal ink (hero arts) when dry. When they were dry, I used black Gelado around the edge and smudged it inwards. I then used distress paint in festive berries,mowed lawn, salty ocean, iced spruce and chipped sapphire with a dropper. I then stamped the hexagons (hero arts) with red royal, pool, and navy shadow inks from hero arts, and attached the hi with dimensional adhesive. 
This piece was a definite learning experience for me. I had to learn patience! The inks were perfect but needed to dry totally between steps. And the paint drips needed to dry completely between color changes otherwise they blend into each other. It took about 3 days between work and little bits after work to complete it, but I am happy with the results.  
Thanks for looking! 
Happy Creating!
~Jay


Friday, January 3, 2014

Layering 2nd level

Hello All!
I hope your new year is going well!
In tutorial 1 (you can find that HERE) we went over a basic collage layer of stamping and tissue paper.  As Emeril would say, "Let's kick it up a notch!"  :)  Now we are going to add a second layer under our stamped layer.  Here's a peek at the final project:


So lets kick it up a notch and begin! :)
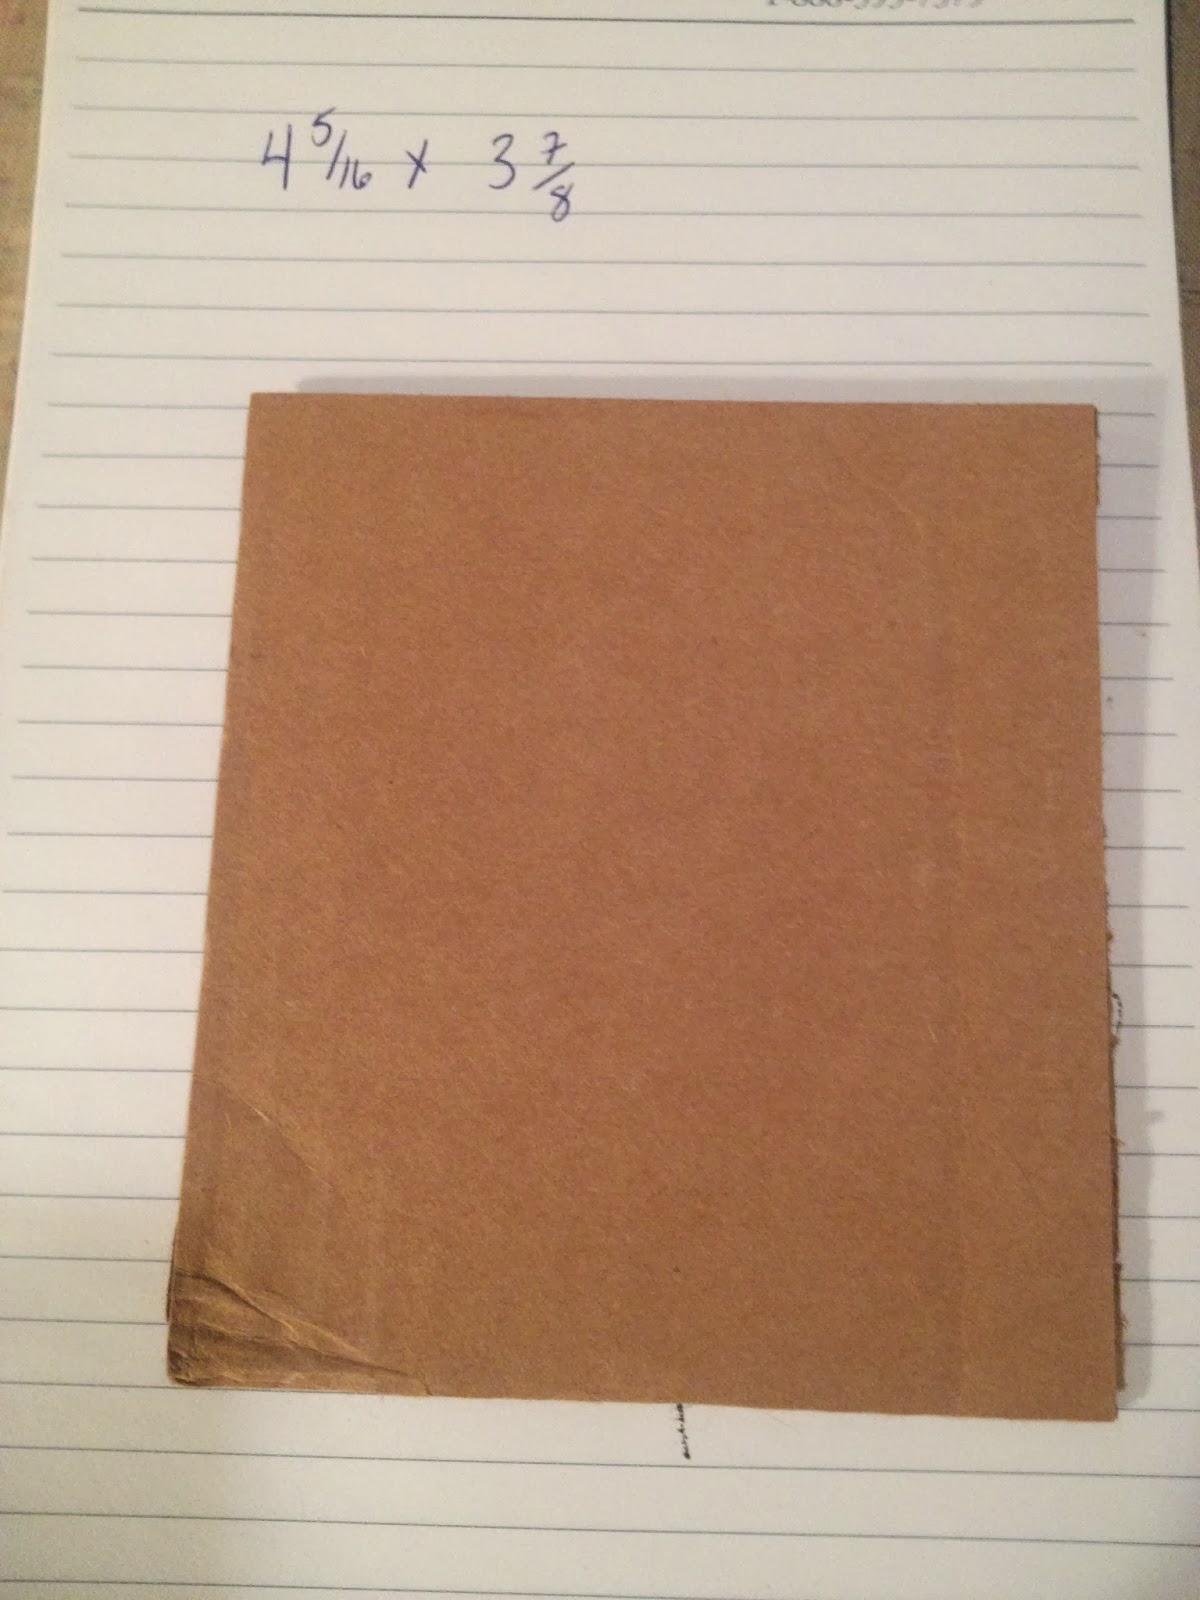
1 We are beginning with a piece of cardboard identical to the first project. The measurements are
 4 5/16" X 3 7/8".

2 Tear out a page from an dictionary or other type of background paper. I buy my dictionaries from a local dollar store. A dollar for over 100 pages of useable art! What a deal! :)  Come up with an arrangement that suits you on the base piece and adhere with your medium. I am using ranger ink glue and seal.  Let dry before moving on.
3 While waiting for step 3 to dry, you can stamp your image on your tissue paper. This is one of the first stamps I ever bought, Sunflower by PSX (personal stamp exchange). Had I known then what buying that first stamp was going to lead to Pokemon mentality.... (Pokemon mentality for those who don't know, is gotta collect them all :) Behind the scenes: It took 2 times of stamping to get this right. I flipped my stamp over, inked it with versafine onyx black, and used my brayer to "reverse" stamp it. It seems the tissue paper doesn't have enough body so to speak to get a good image, so the soft brayer helps to make sure all the image transfers.)
4 Now coat your entire base including dictionary or background images.
5 Align your main image onto the base piece. Carefully brayer the main image for a flat image, then scrunch up the edges to get wrinkles. Allow to dry between this and next step.
6 Tear off excess tissue paper to your liking.
7 To color the flower, I used orange and yellow Gelatos from Faber-Castell.
8 I spritzed a little water onto my craft mat and with a water brush blended from the yellow to the orange, and a little back into the yellow, wiping the brush off on a baby wipe between petals.
9 For the leaves I rubbed the green and yellow Gelato onto my craft mat and blended with some water. I rubbed a little of the green onto each leaf and the stem, then blended with the green yellow mix. The center of the flower was a bit tougher as I didn't have a brown. Back to art class...lol. Mixing blue and orange will yield brown, which I did on my craft mat in case I didn't like the color. Then for the background, I used the metallic peach and regular pink and colored them randomly onto the Background.
10 Blend the background with water.  Then I made a little sparkle by rubbing the metallic gold onto my craft mat and adding some water. I brushed the mixture onto the sunflower and leaves.

11 You can really see the sparkle on the page. The metallic Gelatos really sparkle nice!
12 Next to add an aged look to the piece, I rubbed a black Gelato around the edge and smudged with my finger. While the black on my finger was still workable, I lightly highlighted the wrinkles in the tissue paper. I also used a Big Brush Marker in white from Faber-Castell. On the petals, i put a little on the outer petal and smudged it inwards, and on the leaves I put it more towards the top of the leaf and smudged it down.
13 Now for the card. I used a piece of Neenah Desert storm cardstock measuring 5 1/2" X 4". I stamped a script background (hampton art stamps) with versafine in vintage sepia. When dry I used antique linen to ink the edges of the card front.
14 Again with black Gelato smudge the edge of the card to age it more.

15 Stamp sentiment (stampers anonymous) with versafine black onyx onto banner colored with shabby shutters distress ink and adhere with a tape runner.  Then adhere the panel with the same tape.

Thanks for joining me again!  Please join me on Monday for the next Layer tutorial!

Happy Creating!
~Jay


Wednesday, January 1, 2014

First Layer Tutorial

Hello All! I hope your New Years was very fun! Here's to a new creative year!

Here's a look at the final product:

And now to begin the tutorial:
1 I began with a piece of cardboard that I had got from some of my mail order art supplies. (Just what we crafters need...another reason to save YET another piece of scrap paper! :) ) I cut several from the same box as the thickness was perfect for the mixed media projects i will be doing. The piece is 4 5/16" X 3 7/8".

2 The stamp set is from stampendous, and is called Daisy Thanks.
3 Stamp the daisy with versafine onyx black, and the script stamp (hero arts) with versafine vintage sepia onto tissue paper.  Tip: cheaper tissue paper will be more translucent when adhering with most mediums, but will also tear much easier. The T!m Holtz tissue paper is very good quality and is much easier to work with without tearing, but I wanted my own image. Remember art isn't perfect and as T!m Holtz says embrace imperfections! This is a more rugged technique so just have fun! (Behind the scenes: I had to restamp 3 times. The tissue paper may need to be ironed if you left it under some other supplies as I had. :) )

4 Cover your cardboard piece with an adhering medium. I used claudine hellmuth studio matte medium, but have also done it with Ranger ink. glue and seal or modge podge.

5 Place the stamped image on top of the cardboard.  I used a brayer on top of the daisy image only. Then scrunch the tissue carefully to create wrinkles in the tissue. Actually it is more like sliding the the paper in towards the image. The area you brayered wont move much and will likely tear if you try to move it, which i did not want for this project, but you can do it if that is the look you are going for. Remember art is fun and most likely you are the only one who will notice the error! Let dry completely before next step. I am what I like to call a multi-maker. I usually make a bunch of similar projects at the same time and would normally begin adhering the others at this time.

6 Once dry, tear around the edges.  The matte medium did all the work all I had to do was pull. I left some overlap around the edges.

7 Now for the coloring. Layer Gelatos in red and orange on the flowers as shown to achieve the same look. Working in small groups, add water to a water brush and blend colors. I keep a baby wipe handy to blot off color if there is too much.  I also went back in a little later and added more orange by rubbing the orange gelato onto my craft mat and spritzing with mister and then going over the petals.

8 This is the blending and then baby wipe to lighten a bit. Do the same to all other petals.

9 Yellow and Orange Gelatos were applied as shown, and blend as above. I ended up adding more yellow as I wanted them more yellow than orange.

10 Color the stems by rubbing green and yellow Gelatos onto your craft mat and misting them then coloring with your water brush. When dry, I then used Faber-Castell's Big Brush Marker in white to give some texture. I made dots on the flower center and then a line on the petals I then smudged with my finger to blend. It really added a lot of depth to the flowers.

11 Next rub light blue Gelato on the rest of the piece and use wet water brush to blend and spread, again using a baby wipe to remove or lighten up some areas.

12 When dry, (which takes only a few minutes) Vintage Photo Distress ink and a blending tool age the border nicely.

13 On a Neenah desert storm cardstock base (A-2 or 5 1/2" X 4") stamp the french script with Antique Linen distress ink, and use Vintage Photo distress ink to distress the edges.

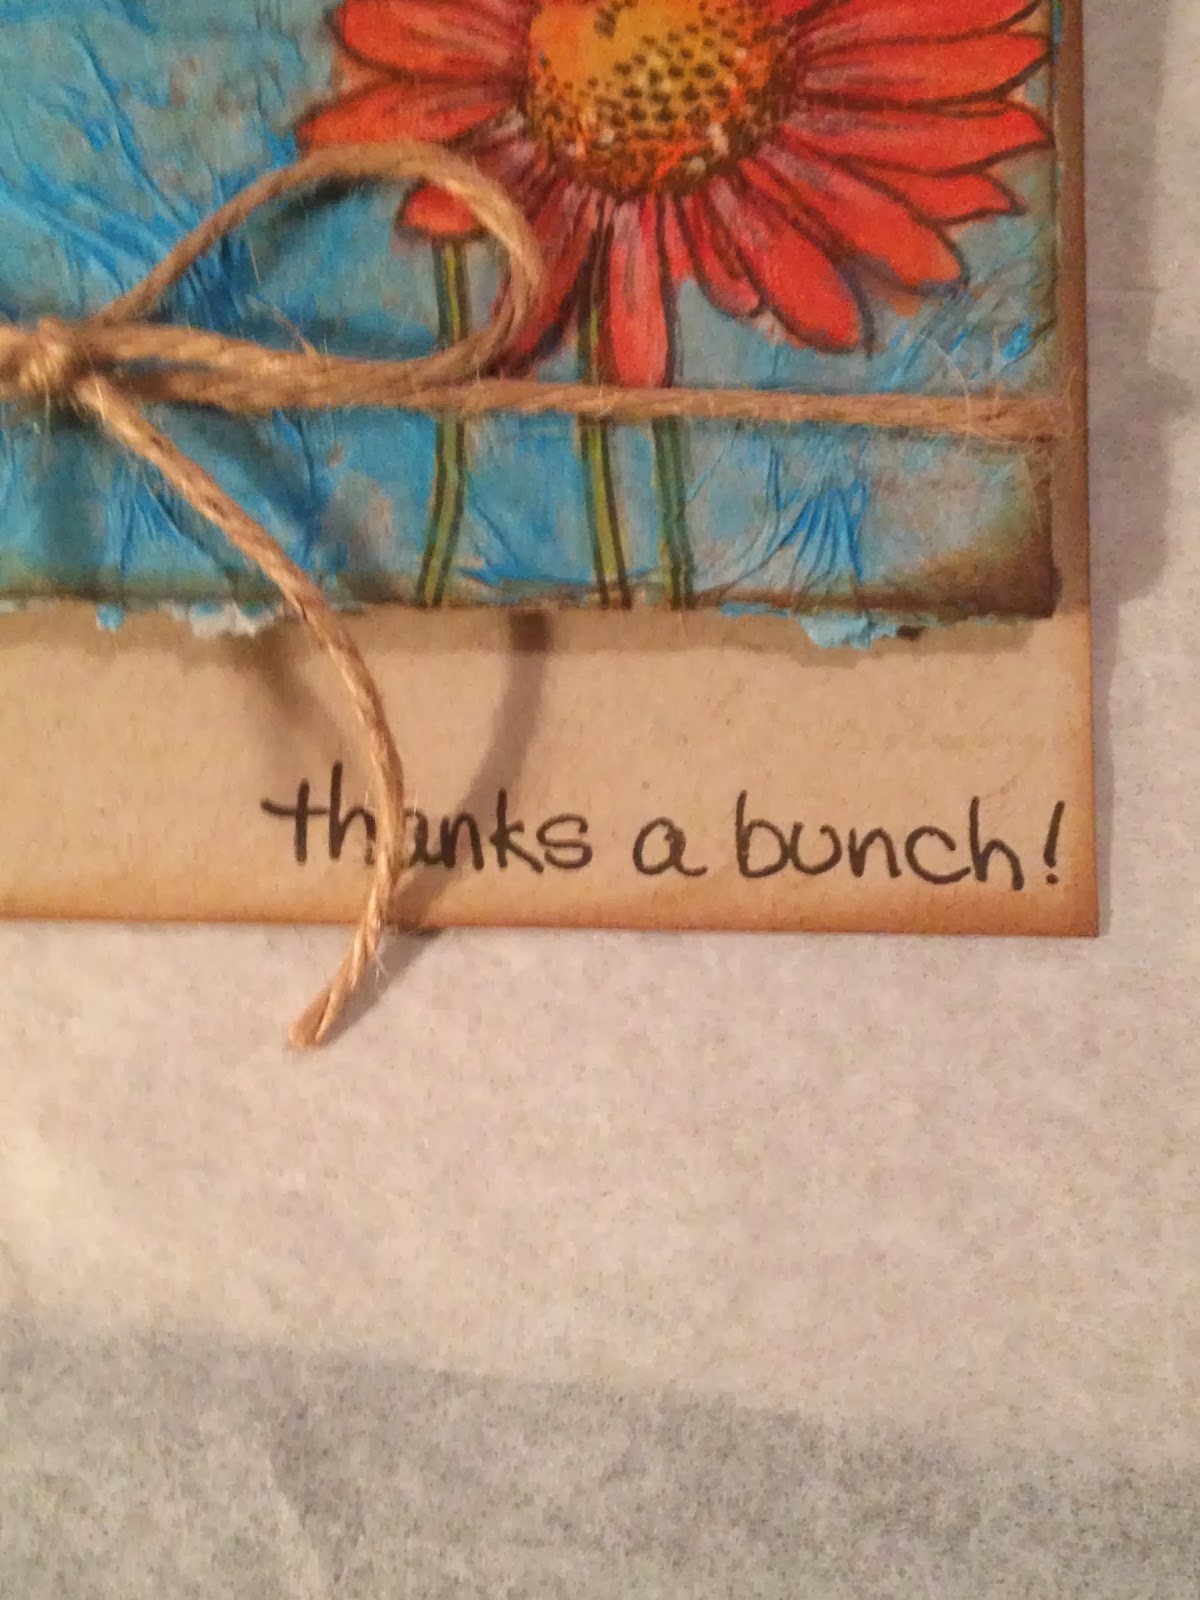
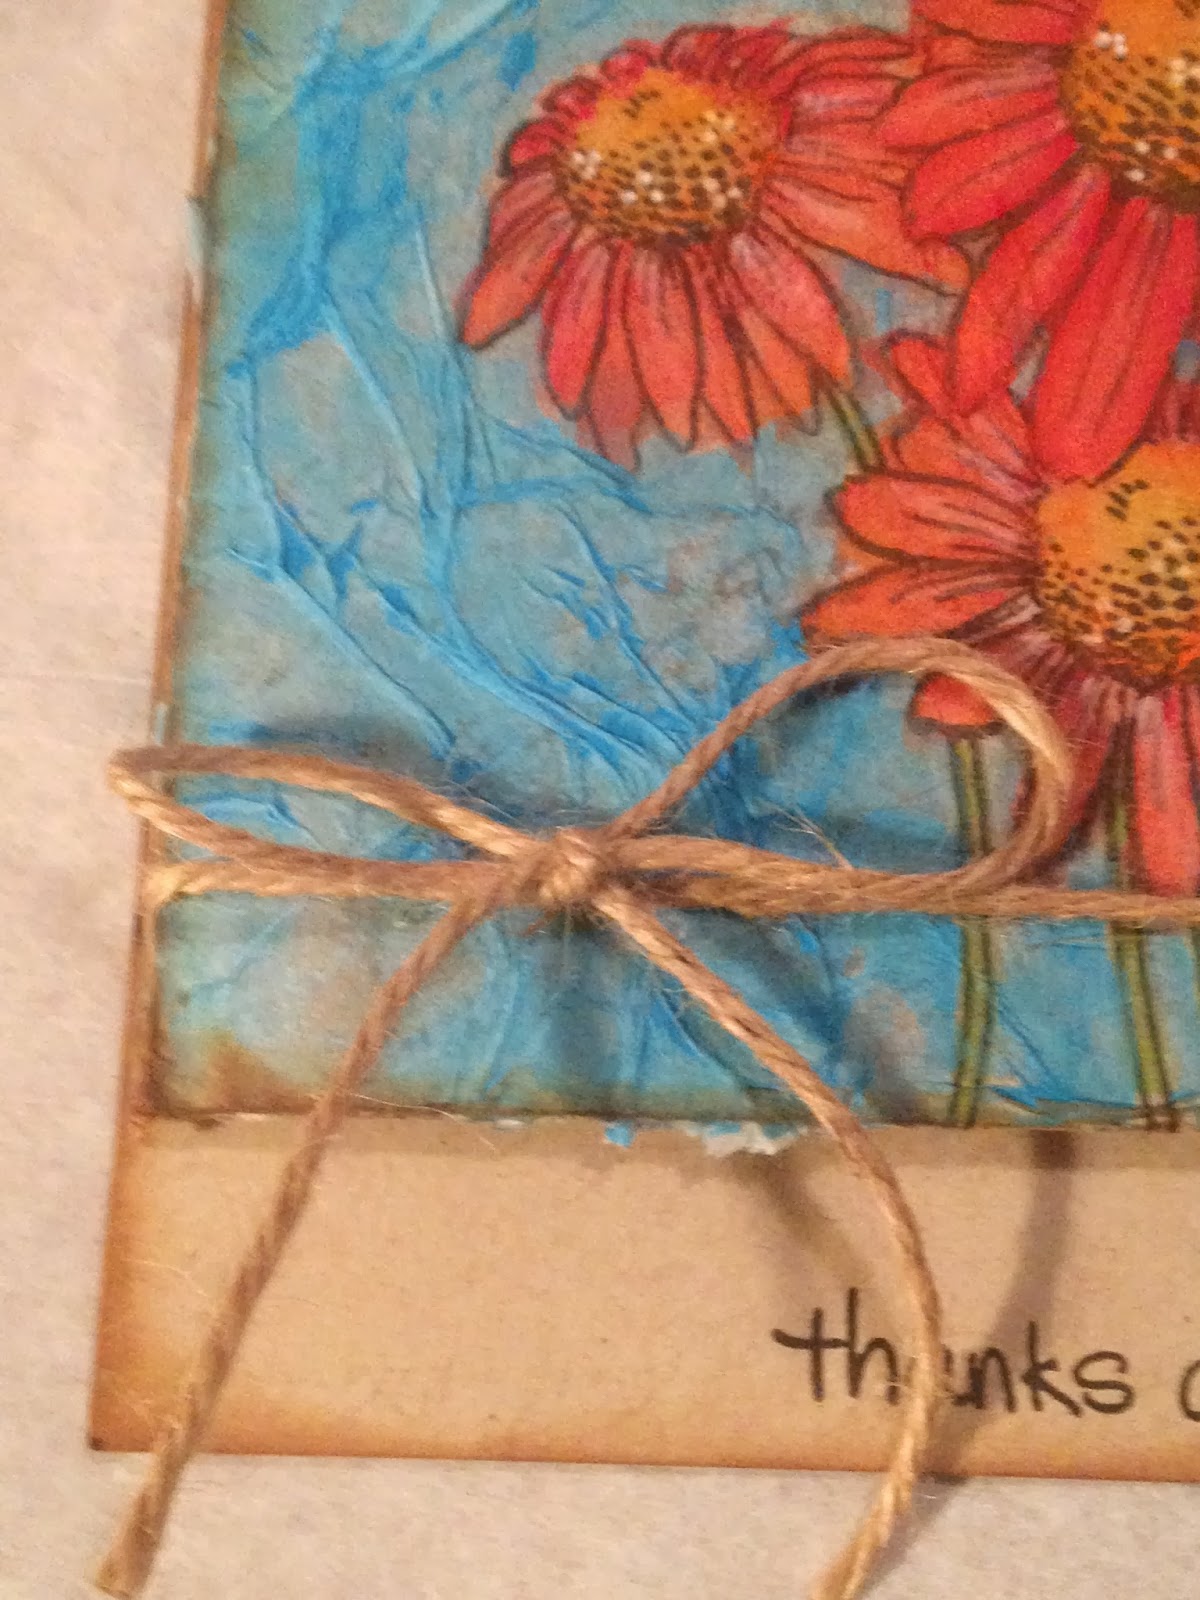
14 Add Jute around the panel and tie in knot in the back. Adhere a simple bow with Glossy Accents.  Stamp thanks sentiment (stampendous) and attach panel to card with foam squares.

Here are some close-ups of some of the above steps:


Thank you so much for following along!  On Friday I will be doing the second tutorial; 2 layers(You can see that HERE).
Happy Creating!
~Jay

Monday, December 30, 2013

Faber-Castell Gelatos

Hello All!
I got the gelato gift pack from Michaels and they are quite amazing!  They are like a combination of oil pastel and watercolor in their behavior.  I made 2 mixed media boards where I am going to contrast the different ways of application.

The first:
This was done oil pastel style. I first stamped the Hero Arts image with versamark ink.  I then applied the Gelatos and smudged with my fingers to blend.  Blended very easily and smoothly, and after it dries it is smudgeproof. 

The Second:

This was done watercolor blended.  Again this was first stamped with versamark ink.  I applied the Gelatos directo to paper and then used a wet paintbrush to blend.  Blended very well with water and paintbrush, and much more control for tight spaces.  Also Smudge proof once dry which took about an hour.

I am excited to work with them and do some mixed media Techniques!  I am also going to do a tutorial series on layering over this week.  I am going to do 4 classes on layering techniques including a tutorial on the above.  Please stay tuned for the layering class!  :)

~Jay

Some random cards

Hello All!
I hope everyone had a great Christmas!  Here are some random cards I made over the last couple of weeks I though I would share with you.
You can never have enough Thank you cards!  These are a gift pack for someone.


A card made using Hero Arts "Bokeh Technique"


Another card using the Bokeh Technique

A card using different paper punches.

I hope you have a very Blessed New Year!
~Jay

Monday, December 16, 2013

Reindeer Tag

This tag is my rendition of Day 2, by Julie Ebersole in Ellen Hutson's 12 tags of christmas with a feminine twist.

Cardstock: Neena Solar White
Ink: Squeezed Lemonade, Chipped Sapphire, Tumbled Glass, Vintage Photo, Antique Linen, Black Soot,  Gathered Twigs distress ink; Iced Spruce, evergreen bough distress stain. Also the spots are Stampin' Up's white shimmer paint.
Die Cut Dies: Spellbinders Label #8; The following are Sizzix Tim Holtz Dies: Tree line, reindeer flight and Townscape.
Also entering this into Simon Says Stamp's background challenge: Let it Snow!
Thanks for stopping by!
~Jay

Monday, December 9, 2013

Gift Basket Basket Alternative

Hello All! I hope you are doing well with your Christmas shopping!  I thought I would share an idea I came up with a few years ago.  I do gift baskets for family members at Christmas if I am just doing gift cards or some smaller gifts, and a couple of years ago instead of using a wicker basket (as who needs yet another wicker basket) I started using inexpensive kitchen finds from Christmas Tree Shops.  The first year I used a decorative cutting board as my base, and since it is put into a plastic bag anyways everything stays together.  The second year was an oblong glass baking dish and Last year was a decorative cookie tray.  This year I think I am going to do something along the lines of THIS.  The cost of the base is pretty close to an average decorative basket, but much more functional and wont have to go into the basket junkpile that everyone seems to collect. I hope this helps give you some more ideas!
Have a great day!
~Jay

Saturday, December 7, 2013

Amaryllis Repair

As promised here is a way of repairing a stamped image. There are many ways of repairing an erroneous stamped image depending on how big and the placement of the error….or you could just throw out the paper and start again….lol as if any stamper/scrapper would ever throw something away… J
Here is the original:

As you can see, the left side of the image has a dark smudge on it. When I finish up, it will be covered by some embellishments.
Here is the finished product:

Supplies:
Paper: Neenah Solar White
Stamp: Amaryllis from Rubber Stampede, and French script from Hero Arts
Ink: Pumice Stone, Dusty Concord distress inks; Memento Tuxedo Black for the image; Charcoal and Soft Granite From Hero Arts
Markers: Copic flowers: V06, BV02, BV20; Leaves: BG09, G00; Bulb: Y21, Y32
Fiber: Tim Holtz crinkle ribbon
Tools: Scotch Glue Runner, Tim Holtz blending tool
Misc: Tim Holtz Pin, Sizzix Tim Holtz Holly Bigs Die, Brushed Pewter distress stain, Rock candy stickles, rock candy glitter, Rhinestones from Stampin' Up, Grunge paper, Pop dots

I started using a standard A-2 and used the ink blending tool with Dusty Concord around the border of the card. .I then cut a smaller piece of Neenah solar white leaving a 1/4" border. I stamped the main image with Memento Tuxedo Black, and colored with Copics. I then used Pumice Stone with an ink applicator around the image, It went on a bit too dark so I lightened it up a bit with a baby wipe, which did the trick. Then a smaller border of Soft Granite, followed by outlining the edges by rubbing only the edge of the cardstock across my Charcoal ink pad for a darker edge. I then inked the French Script stamp with Pumice Stone, using a baby wipe to remove ink from the area roughly around the focal image. I applied Charcoal to the back of two corners that I rolled up. I colored the crinkle ribbon with pumice stone and dusty concord, and tied with a bow. I cut the holly leaves from the T.H. Sizzix holly die and colored with brushed pewter distress stain. I then brushed the charcoal ink pad around the edge of the leaves to bring out the edges more. I then covered with rock candy distress stickles and sprinkled on more rock candy glitter. I adhered them on with dimensional adhesive (foam dots) and put the T.H. pin through the ribbon. I finished uo with some rhinestones from Stampin’ up that I colored with copics.

Have a great evening!
~Jay

Amaryllis in Copics


Supplies:
Paper: Neenah Solar White
Stamp: Amaryllis from Rubber Stampede, and French script from Hero Arts
Ink: Antique Linen, Frayed Burlap, Wild Honey, Vintage Photo distress inks; Memento Tuxedo Black for the image
Markers: Copic flowers: R32, RV42, RV00; Leaves: G21, G00; Bulb: Y21, Y32
Fiber: Hemp Cording from Joann Fabrics
Tools: Scotch Glue Runner, Tim Holtz blending tool
Misc: Pearls from A.C. Moore

I started using a standard A-2 and used the ink blending tool with frayed burlap around the border of the card.  I then cut a smaller piece of Neenah solar white leaving a 1/4" border. I stamped the main image with Memento Tuxedo Black, and colored with Copics.  I then used Wild Honey with an ink applicator around the image, then a smaller border of Frayed burlap, followed by outlining the edges by rubbing only the edge of the cardstock across my Vintage Photo ink pad for a darker edge.  I then inked the french script stamp with Antique Linen, using a baby wipe to remove ink from the area roughly aroung the focal image. I then put the pearls on (which was a mistake to put them on before I attached it to the main card. It makes it harder to attach the adhesive to a non-flat surface) and then attached the copper-hemp piece and finally attached it to the card front.
I stamped out 2 amaryllis to color differently, and made an error in stamping the other one. I stamped on the other side of my piece and it didnt stamp properly either.  I am going to do another post on that later this weekend showing the mistake and how I use them and cover them up so please stay Tuned!

Have a Great Day!
~Jay

Black Friday Haul

Hello everyone! Happy after Thanksgiving! I hope you all had a chance to get some great art and craft supplies at super discount prices!  I thought I would do a little haul post about some of the Goodies that I got.  I went shopping at Michaels and JoAnn fabrics, and JoAnn.com.  I used the coupons and the sale items together and got some sweet deals!  JoAnn.com had a bunch of Hero Arts ink pads for $3.59 a piece!

The Vertical Merry Christmas is a Penny black stamp.

Ther flower is Hero arts and the diamond pattern is penny black.

The sponge daubers were from Joann.com and the ones with the caps are smaller than the daubers without the caps, just a note.

The glue runner refill was a steal at michaels! it was buy 1 get 1 free and 25% off!


The Large T.H. dies were all from Michaels.

Sorry my scanner wouldn't pick up these. the stencils I got were: Tweed Pattern, Large Lotus Pattern, Elegant Pine and Borders.

Have a Great Day!
~Jay