Hello All! I hope your New Years was very fun! Here's to a new creative year!
Here's a look at the final product:
And now to begin the tutorial:
1 I began with a piece of cardboard that I had got from some of my mail order art supplies. (Just what we crafters need...another reason to save YET another piece of scrap paper! :) ) I cut several from the same box as the thickness was perfect for the mixed media projects i will be doing. The piece is 4 5/16" X 3 7/8".
2 The stamp set is from stampendous, and is called Daisy Thanks.
3 Stamp the daisy with versafine onyx black, and the script stamp (hero arts) with versafine vintage sepia onto tissue paper. Tip: cheaper tissue paper will be more translucent when adhering with most mediums, but will also tear much easier. The T!m Holtz tissue paper is very good quality and is much easier to work with without tearing, but I wanted my own image. Remember art isn't perfect and as T!m Holtz says embrace imperfections! This is a more rugged technique so just have fun! (Behind the scenes: I had to restamp 3 times. The tissue paper may need to be ironed if you left it under some other supplies as I had. :) )
4 Cover your cardboard piece with an adhering medium. I used claudine hellmuth studio matte medium, but have also done it with Ranger ink. glue and seal or modge podge.
5 Place the stamped image on top of the cardboard. I used a brayer on top of the daisy image only. Then scrunch the tissue carefully to create wrinkles in the tissue. Actually it is more like sliding the the paper in towards the image. The area you brayered wont move much and will likely tear if you try to move it, which i did not want for this project, but you can do it if that is the look you are going for. Remember art is fun and most likely you are the only one who will notice the error! Let dry completely before next step. I am what I like to call a multi-maker. I usually make a bunch of similar projects at the same time and would normally begin adhering the others at this time.
6 Once dry, tear around the edges. The matte medium did all the work all I had to do was pull. I left some overlap around the edges.
7 Now for the coloring. Layer Gelatos in red and orange on the flowers as shown to achieve the same look. Working in small groups, add water to a water brush and blend colors. I keep a baby wipe handy to blot off color if there is too much. I also went back in a little later and added more orange by rubbing the orange gelato onto my craft mat and spritzing with mister and then going over the petals.
8 This is the blending and then baby wipe to lighten a bit. Do the same to all other petals.
9 Yellow and Orange Gelatos were applied as shown, and blend as above. I ended up adding more yellow as I wanted them more yellow than orange.
10 Color the stems by rubbing green and yellow Gelatos onto your craft mat and misting them then coloring with your water brush. When dry, I then used Faber-Castell's Big Brush Marker in white to give some texture. I made dots on the flower center and then a line on the petals I then smudged with my finger to blend. It really added a lot of depth to the flowers.
11 Next rub light blue Gelato on the rest of the piece and use wet water brush to blend and spread, again using a baby wipe to remove or lighten up some areas.
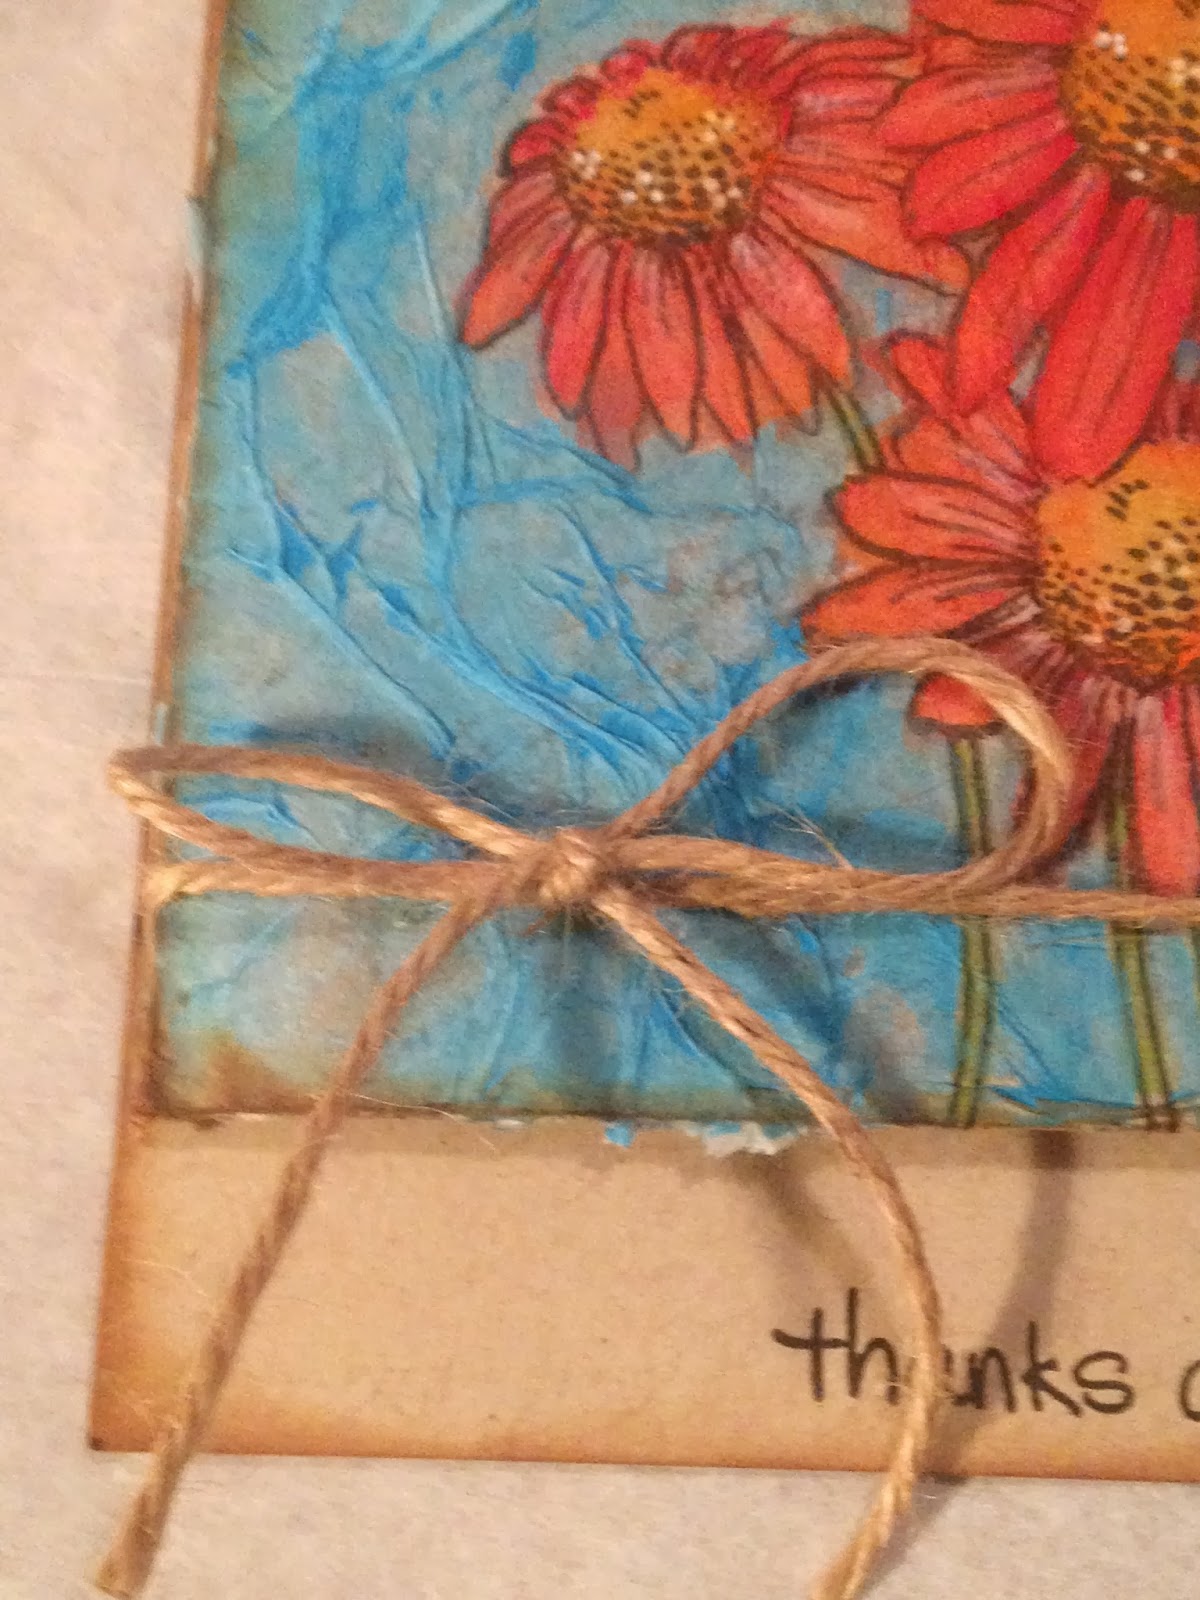
12 When dry, (which takes only a few minutes) Vintage Photo Distress ink and a blending tool age the border nicely.
13 On a Neenah desert storm cardstock base (A-2 or 5 1/2" X 4") stamp the french script with Antique Linen distress ink, and use Vintage Photo distress ink to distress the edges.
14 Add Jute around the panel and tie in knot in the back. Adhere a simple bow with Glossy Accents. Stamp thanks sentiment (stampendous) and attach panel to card with foam squares.
Here are some close-ups of some of the above steps:
Thank you so much for following along! On Friday I will be doing the second tutorial; 2 layers(You can see that
HERE).
Happy Creating!
~Jay


No comments:
Post a Comment